K-ROSET First Time Setup
After installing K-ROSET for the first time, you will need a USB License Key. If K-ROSET does not recognize your license and continues launching in the Lite version, and the red led on the USB does not stay on, then you will need to download drivers for the USB Key. The drivers are available in "G:\Robotics\05 - Software\Sentinel_LDK_Run-time_setup.zip". After installing the drivers, K-ROSET should be able to recognize your key and open in the full version.
To make sure K-ROSET does not unexpectedly crash, make a project folder on your computer somewhere it will not sync to a remote drive. Mine is set to "C:\MyKHlibraries". Save your projects to this folder.
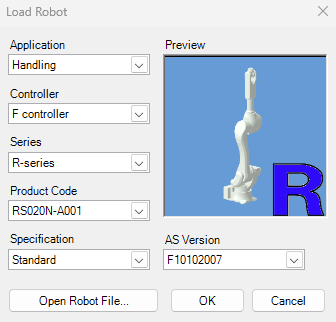
When you are ready to add a robot to your layout, right click on your project, and go to Add > Robot and make sure the product code is RS020N. Hit OK and you should be able to see your robot in the 3D model space.
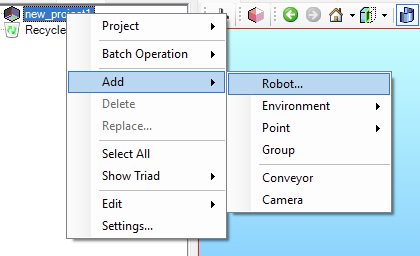
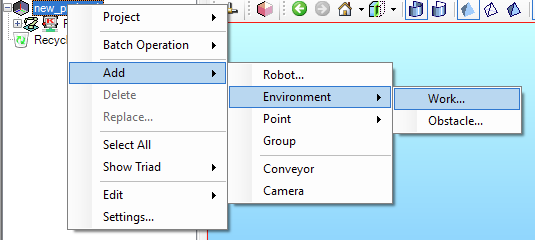
If you need to add other components to your model space, such as a conveyor, pans, or bread, add a work piece by clicking through Add > Environment > Work. Note that the other components you are adding need to be of file type STL and I recommend storing them under your project MODEL Folder. For example, STLs in my "new_project1" would be under "C:\MyKHlibraries\Projects\new_project1\MODEL"
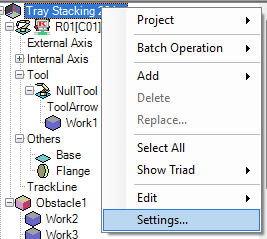
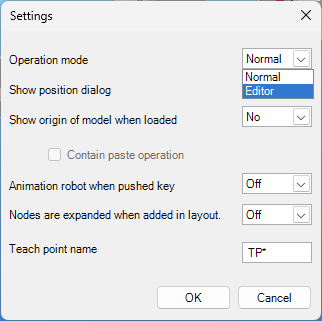
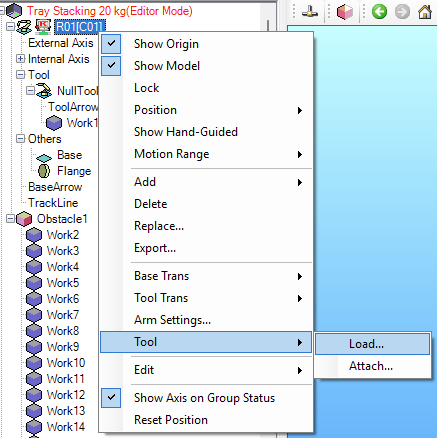
To add a tool to the robot, we first need to enter editor mode. Go to the project settings and change the operation mode to editor. Then, a tool can be added to the robot. Make sure to go back to Normal operation mode after adding the tool.
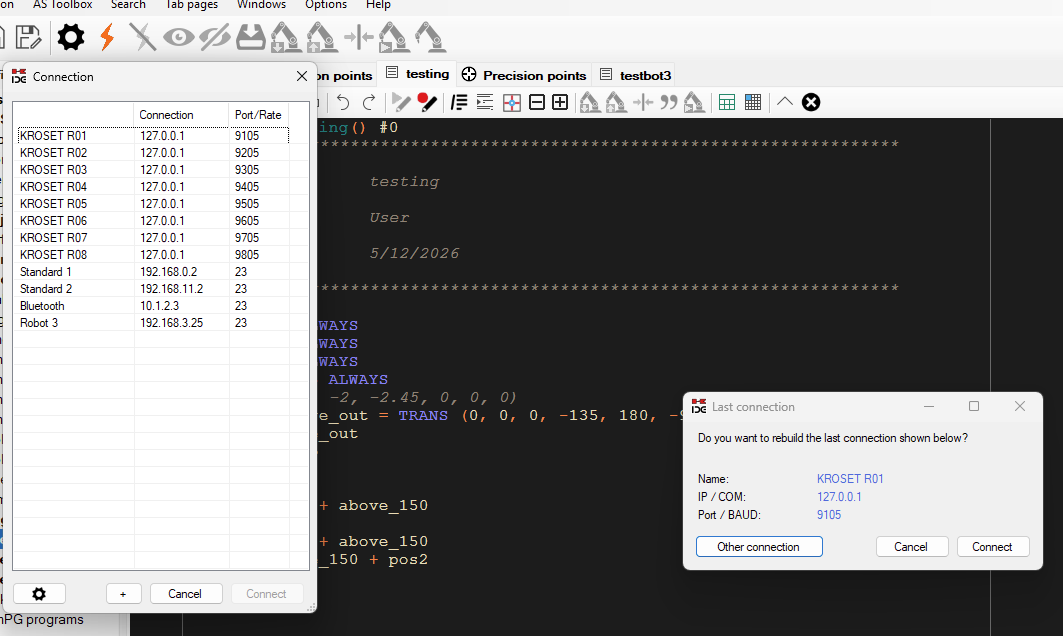
When you are ready to connect K-IDE to K-ROSET, select the KROSET R01 for your first robot. If you have multiple robots in your K-ROSET project, select a different KROSET robot here. Hit connect and send AS File to robot.
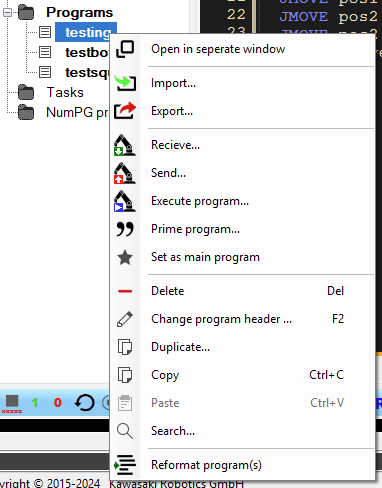
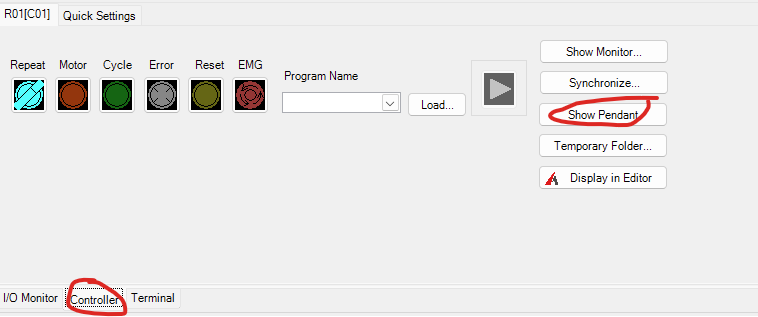
When you are ready to run a program, in K-IDE, right click the program and hit Execute Program. You can also Show Pendant in K-ROSET if you need to use the pendant.
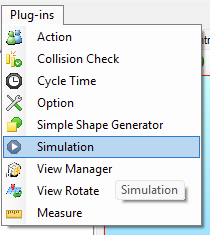
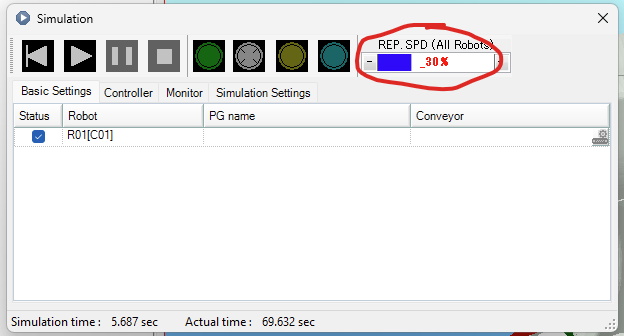
To change the speed the simulation is running at, go to the Plug-ins > Simulation and change the REP.SPD to whatever speed you wish.