Tool Interactions
Everything I learned in this section I learned using Chapter 5: Extended Applications from the instruction manual. This is my attempt to simplify it.
Clamping
Clamping is useful for lifting, pushing, pulling, or otherwise interacting with work pieces using the robot.
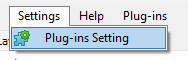
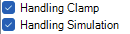
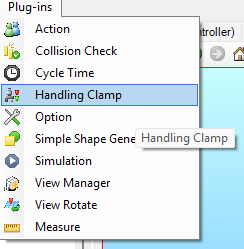
In order to use clamping interaction between tools and work pieces, we need to enable the Handling Clamp Plug-in by going to Settings>Plug-ins Settings and checking Handling Clamp and Handling Simulation. Then, go to Plug-ins > Handling Clamp and make sure your Application is set to 2, and your Clamp 1 Output Signal's are set to 9 and 10 for ON and OFF respectively.
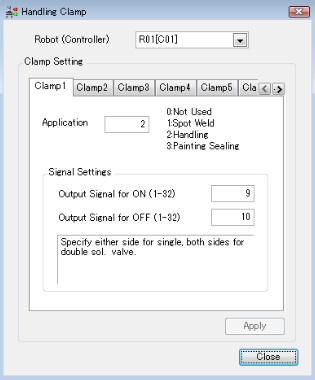
This sets means your clamp and unclamp can be controlled by IO outputs 9 and 10. If you have multiple clamping tools, you will need to set Clamp 2's Output Signals to 11 and 12 for ON and OFF respectively, and so on.
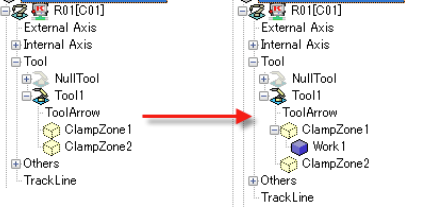
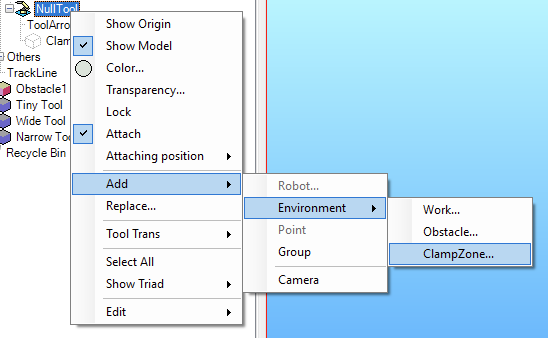
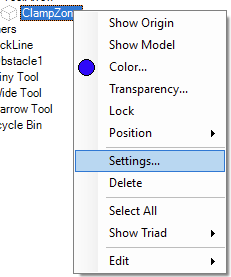
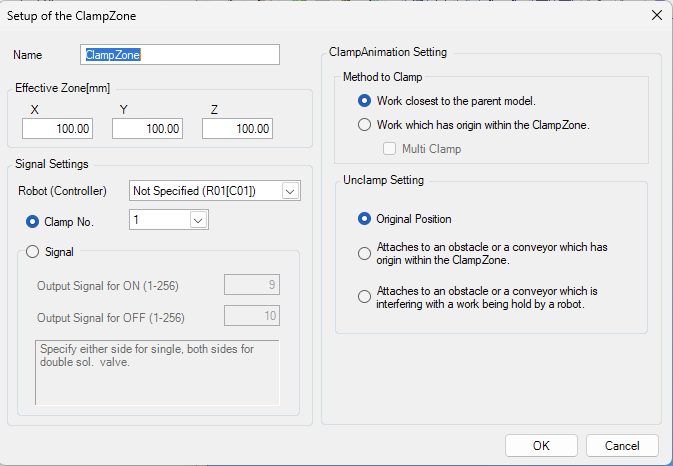
Next we need to create clamp zones. Clamp zones are defined areas that when contain the origin of a work piece, can clamp onto that work piece and move it as if it was a part of the robot. The clamped work piece will follow all translational and rotational movements that the clamp zone undergoes until it is unclamped, where it will remain in place. In the example image, the clamp zone is created for the NullTool, which is essentially the default tool when you have no tool attached to the robot. Creating a clamp zone for the NullTool is only useful, in what I have found, for clamping a tool onto the robot, which is used for changing between tools. Right click on your desired tool, and go to Add > Environment > ClampZone which will bring up the ClampZone options menu. This can be later accessed by right clicking the ClampZone in the layout tree and clicking settings.
In the ClampZone Setup, we can define the size of the clamp zone. We can also define what Clamp number this clamp zone is for, or what signals control it. If this is your first clamp zone, then set the number to 1, or set the signals to 9 and 10. If you are making a second clamp zone that clamps and unclamps using the same signals as another clamp zone, then make sure the clamp number or signals are the same for both. For method to clamp, Work closest to the parent model is the easier option for Method to Clamp because the ClampZone clamps the closest work piece, whereas work which has origin within the ClampZone might require a smaller ClampZone and a more accurate positioning when clamping. I also found Original Position to be the best for Unclamp Setting because it suspends the work piece at its location when unclamped, which is typically what we want to happen with a real robot as well.
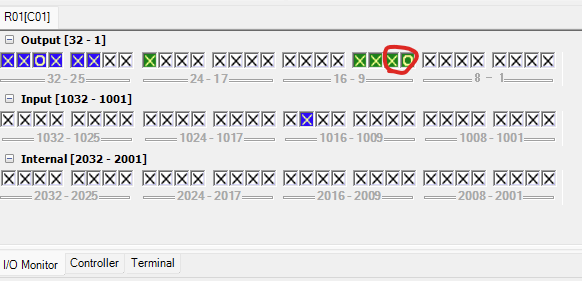
A workpiece can either be clamped using the command CLAMP 1 in the AS program in K-IDE, or using the IO monitor in K-ROSET. the CLAMP command takes a CLAMP [clamp number] argument where clamp number is your clamp number for the clamp zone you want to clamp, and it can be negative for an unclamp or release such as CLAMP -1. You can also just click the IO signals in the IO monitor in the image on the right. When a work piece is clamped, it will move under its parent clamp zone like in the left image.