
Joint Mastering
When mastering joint 2 or 3, both joints 2 and 3 must be mastered at the same time due to joint coupling!
Enable Mastering
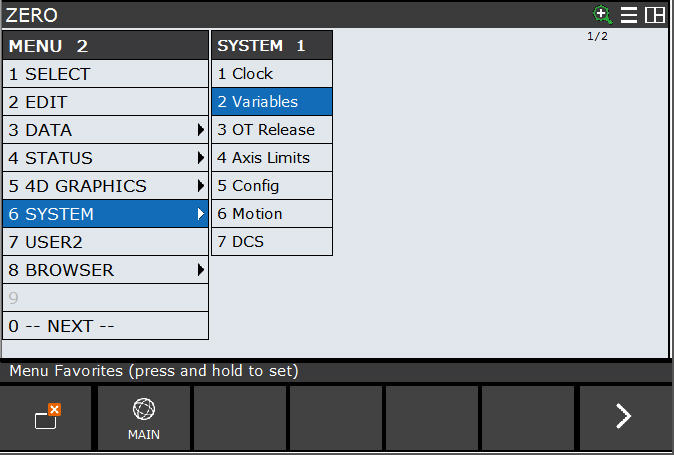
- PRESS –> [ MENU ]
- SELECT –> [ 0 ] 0 NEXT
- SELECT –> [ 6 ] 6 SYSTEM
- PRESS –> [ 2 ] Variables
- Using Arrow –> Scroll down the variables list until you get to $MASTER_ENB.
- PRESS –> [ 1 ]
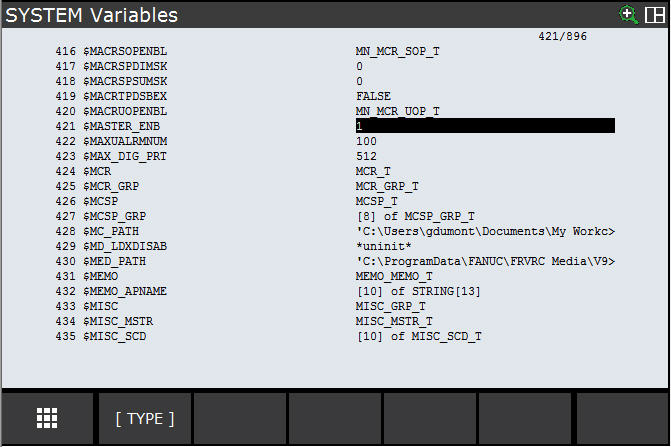
- PRESS –> [ ENTER ]
Disable DCS
- PRESS –> [ MENU ]
- SELECT –> [ 0 ] 0 NEXT
- SELECT –> [ 6 ] 6 SYSTEM
- SELECT –> [ 8 ] 8 DCS
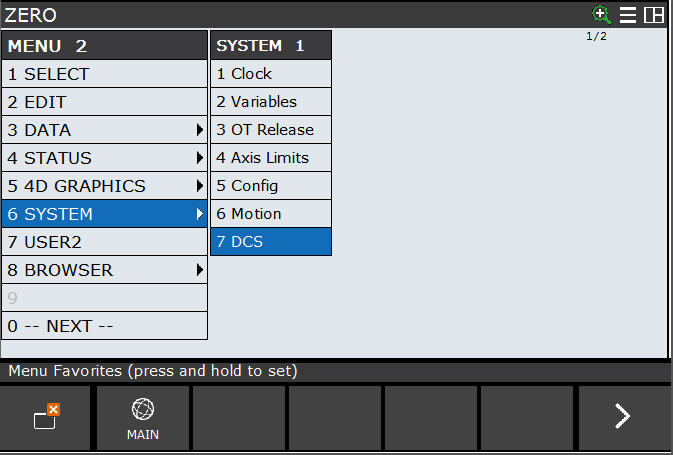
- Using Arrow –> Scroll down to line 11 Mastering parameters.
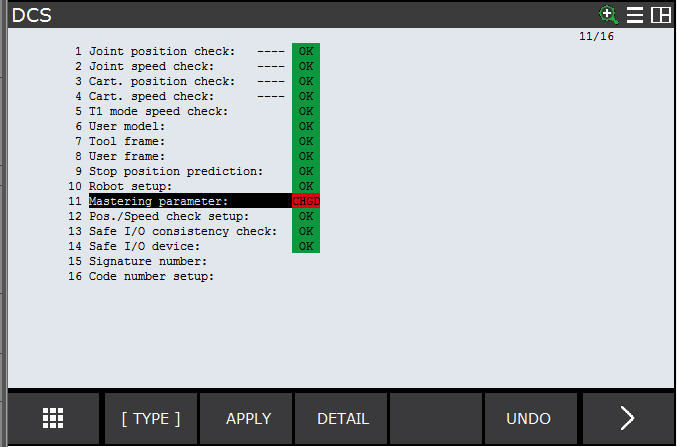
- PRESS –> [ F2 ] APPLY
- ENTER –> The code number (master): "xxxx" (This code is provided by the integrator.)
Our code for the GF Rackloader is "1111" - PRESS –> [ F4 ] OK
- PRESS –> [ FCTN ]
- PRESS –> [ F4 ] OK
- SELECT –> [ 0 ] 0 NEXT
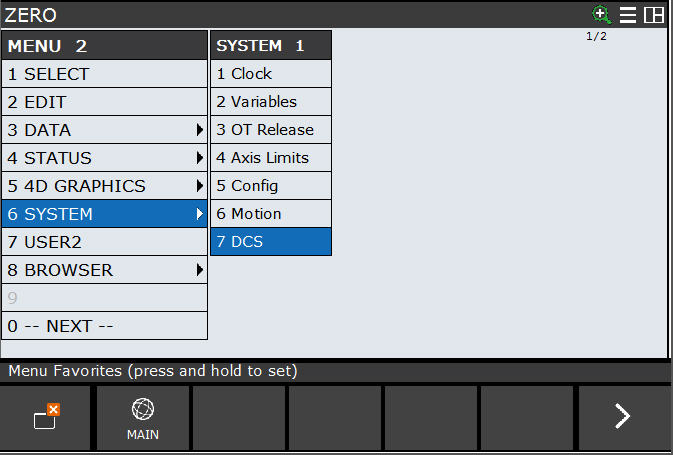
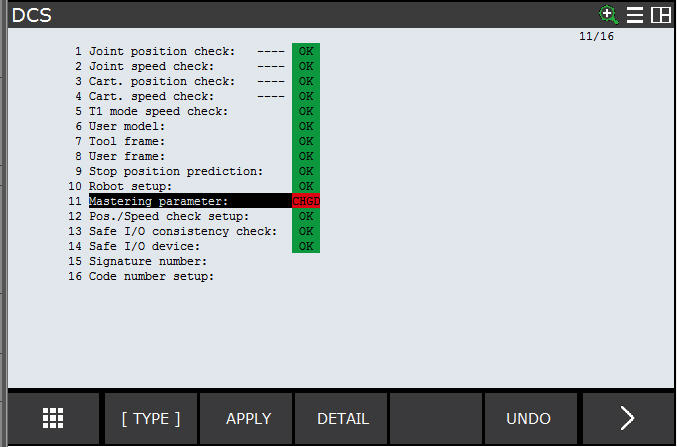
- SELECT –> [ 8 ] 8 CYCLE POWER
- PRESS –> [ YES ]
Quick Mastering
Jog the joint of the robot until the reference marks are aligned (most of the time they are the 0° marks of each joint) Other joints but the one to be mastered don’t have to be at mastering position. With this procedure, you can master more than one joint at the time.
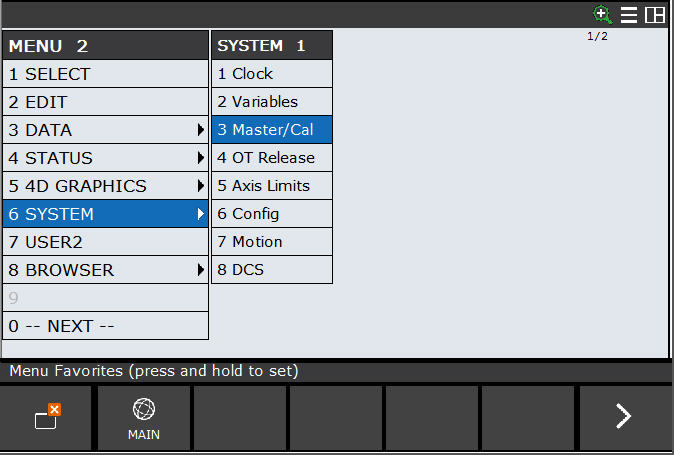
- PRESS –> [ MENU ]
- SELECT –> [ 0 ] 0 NEXT
- SELECT –> [ 6 ] 6 SYSTEM
- SELECT –> [ 3 ] 3 Master/Cal
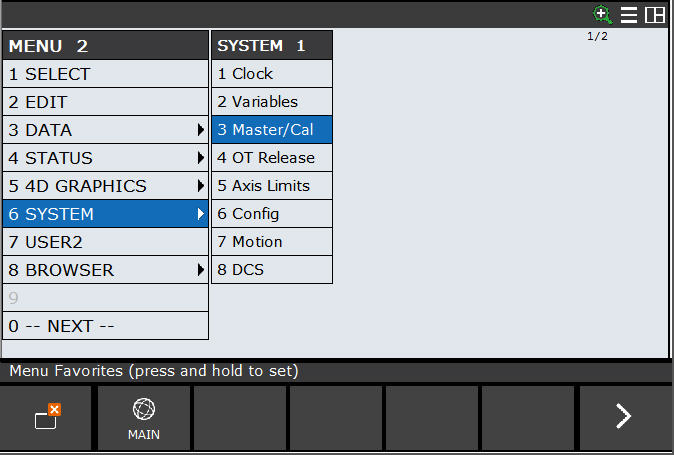
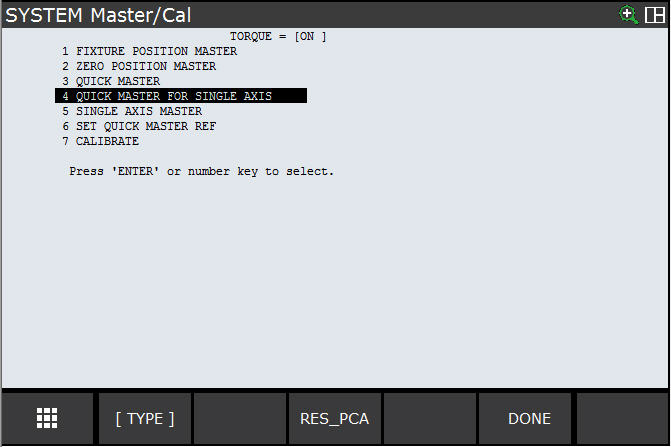
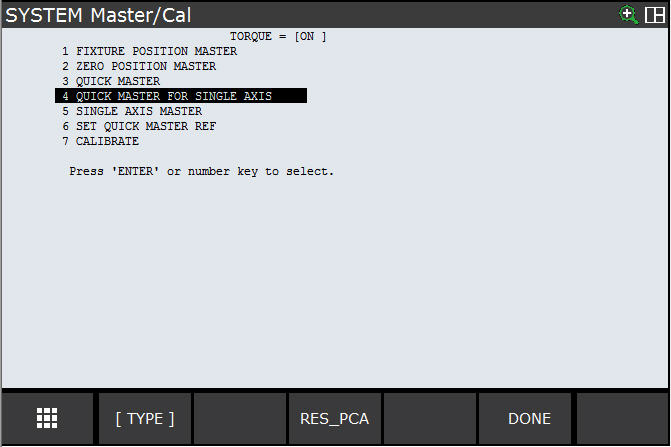
- Using Arrow –> Scroll down to line 4 QUICK MASTER FOR SINGLE AXIS.
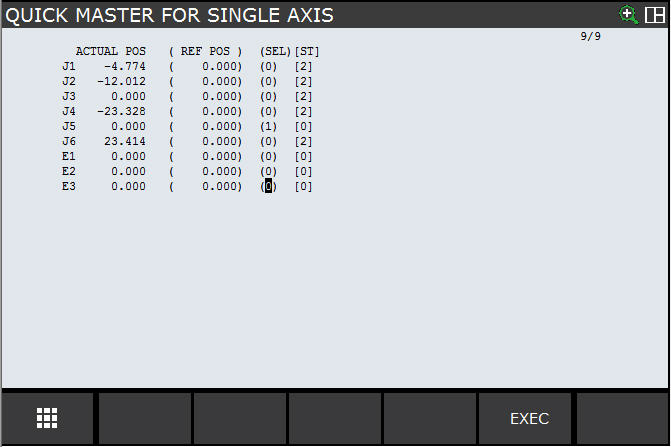
- ENTER –> [ 1 ] (In the (Sel), on each axis to be mastered (0 in (ST) column)
- PRESS –> [ F5 ] EXEC
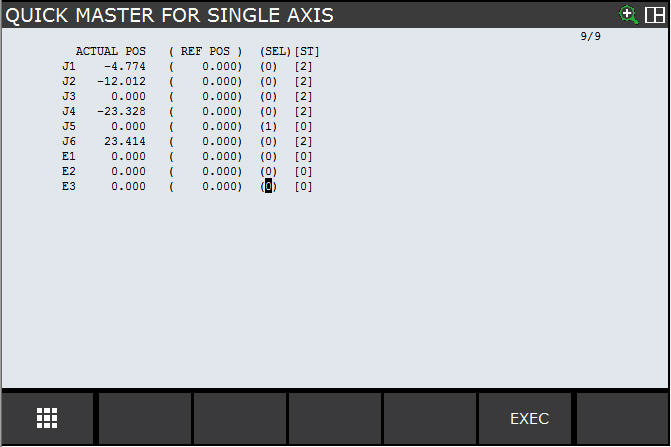
- If mastering has been done for selected axis, a “2” in column (ST) should appear in all of these axis.
- PRESS –> [ PREV ]
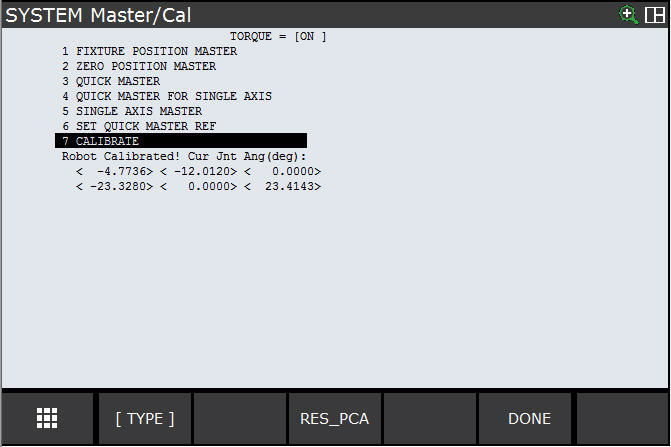
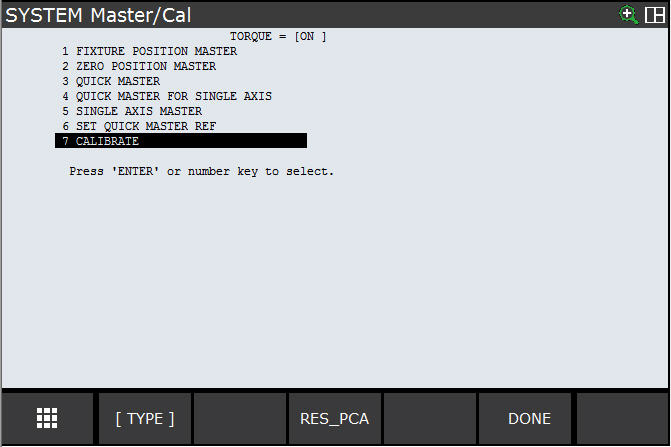
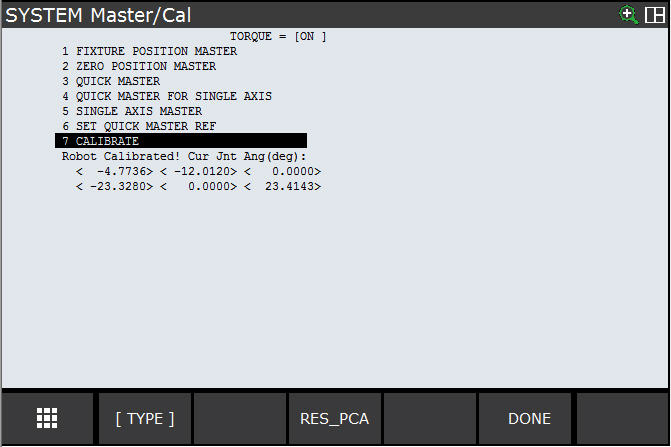
- Using Arrow –> Scroll down to line 7 CALIBRATE.
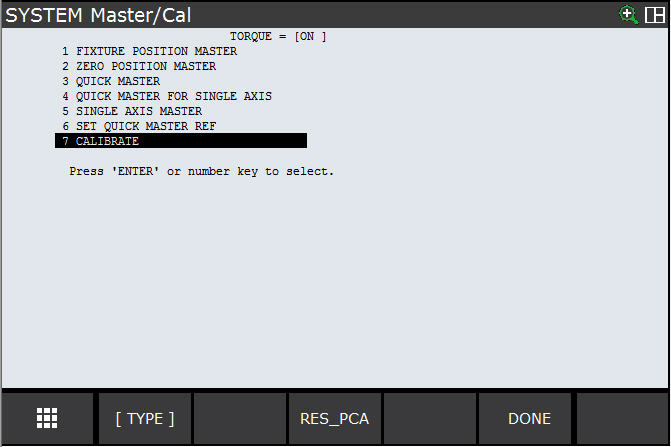
- PRESS –> [ F4 ] YES
- PRESS –> [ F5 ] DONE
Checking Calibration
- PRESS –> [ SELECT ]
- Using Arrow –> Scroll down the program list until ZERO.
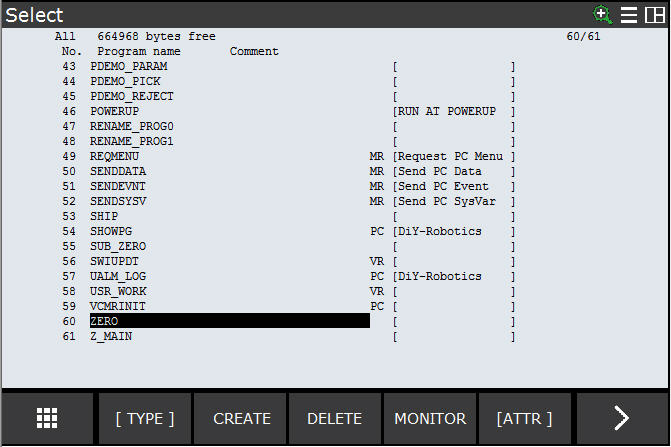
- PRESS –> [ ENTER ]
- PRESS –> [ SHIFT + COORD ]
- At TOOL line, ENTER –> 1
- PRESS –> [ SHIFT + COORD ]
- At USER line, ENTER –> 0
- Place cursor to line 1.
- PRESS –> [ SHIFT + FWD ] (Press and hold the SHIFT key until the robot is at this position.)
- Check 0° marks on each joint of the robot to see if they perfectly match.
- PRESS –> [ POSN ]
- PRESS –> [ F2 ] JOINT
- Each joint should be at 0.
Remember to re-enable DCS once the mastering process is complete!